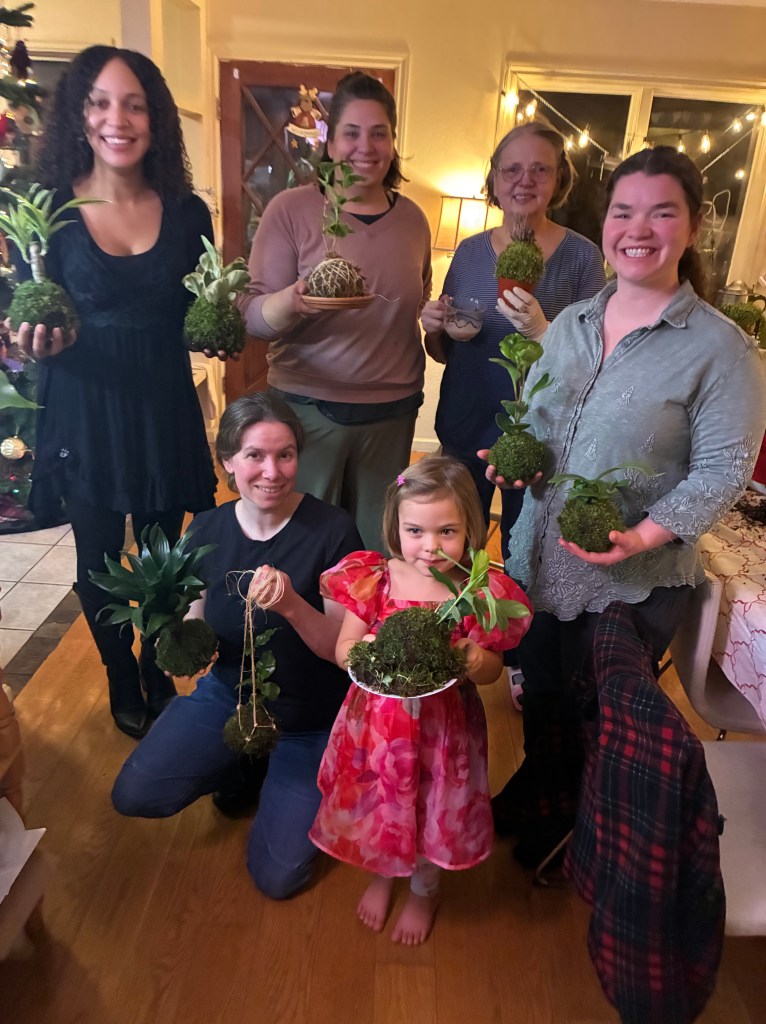
Friday evening we here at Bays’ Camp hosted a Holiday kokodama making party. Kokodama—Japanese for “moss ball”—are plants planted in a ball of soil/sphagnum moss mix, then wrapped in more moss and tied one way or another. They are super cool.
Because I had never made a kokodama before, Grandmasquatch and I watched numerous Youtube tutorials, read a bunch of articles, and even listened to a podcast on the subject; turns out they are foolproof.
Ideally, I would have taken so many pictures of the creation process last night that I could fill this article with detailed how-to shots, but Super-Jenny made mudslide cocktails and Husband-John kept the appetizers flowing and before we knew it we had after pics with no in between. If my forthcoming detailed instructions leave something to be desired, feel free to leave a comment and I will do my best to clarify.
How To Make Kokodama

1. Gather supplies.
-soil mix that is suitable for tropicals, or succulents if that is what you are planting.
-sphagnum moss
-tropical plant of choice (4 inch pot worked well for us)
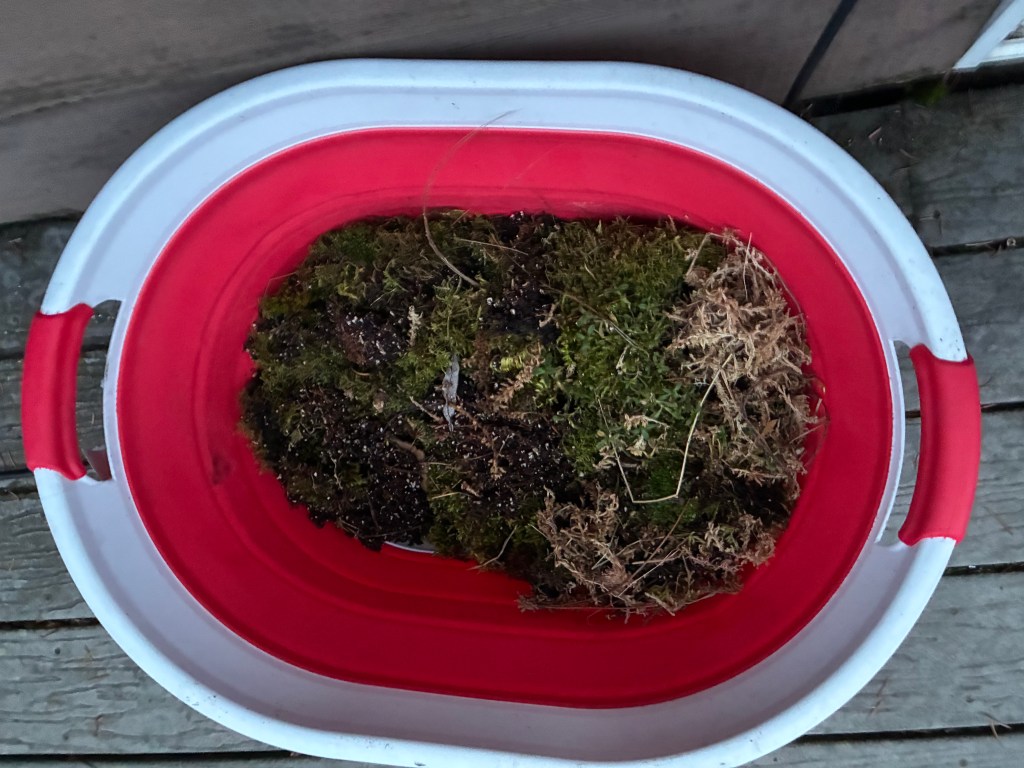
-Sheet moss or yard moss (I harvested mine from our apple trees)
-floral wire/sewing thread/jute twine (one or more depending on the style of your project)
-scissors or wire cutter
2. Unpot your plant and free the roots up

3. Mix 2 parts soil to 1 part sphagnum moss. The moss helps the plant to retain water and keeps the soil mix lighter. Add some water to the mix and form a baseball sized chunk. You will know this is the right consistency when in passes the toss test, where it stays together when you toss it in the air (not too high).
4. Split your mud ball in half and tuck the roots of your plant between the halves, pressing it back together.
5. Take your sheet moss and wrap around the soil ball, shaping as you go.
6. Taking your string of choice, begin wrapping around the moss ball as you choose, until it holds its shape independently. We found that green sewing thread blended in with the moss and didn’t detract from the natural beauty. I also tried an alternative method which I will detail below.
7. Once the moss is secure, tie off your thread.

8. Set on a plate, or suspend from a dowel or hanger of your choice.
Alternative method

1. Fill a bowl with damp sphagnum moss and press up the sides of the bowl so that there is room for dirt and the plant in the middle.
2. Place a handful of damp soil mix in the middle of the moss.
3. Place your plant then add more soil to cover the roots.
4. Add more damp moss to the base of the plant stem, then tuck moss from the sides of the bowl up around the soil until you have a ball.
5. Remove the ball from the bowl and begin wrapping with twine. Continue until the moss is secure. (I also saw this done with light colored sewing thread and then the twine was added in decorative patterns)
Kokodama can be hung up or displayed on plates or surfaces. When they need water, just soak them in a few inches of water for 5-15 minutes. Fertilize as recommended depending on your plant variety. When they become root bound, replant.
A Few Tips
-one of the options I saw on a video tutorial was to use a mesh fabric like tulle. I purchased some but none of us chose this option and didn’t suffer for it.
-consider your plants carefully for your first time; a diva is going to be even trickier when you don’t have full access to her soil.
-decorative moss is expensive, so harvesting from your yard is a great way to keep this project cheap.
And that is kokodamas! We were all pleased as punch with the results and I hope you will be too. Happy Holidays folks!

Leave a comment