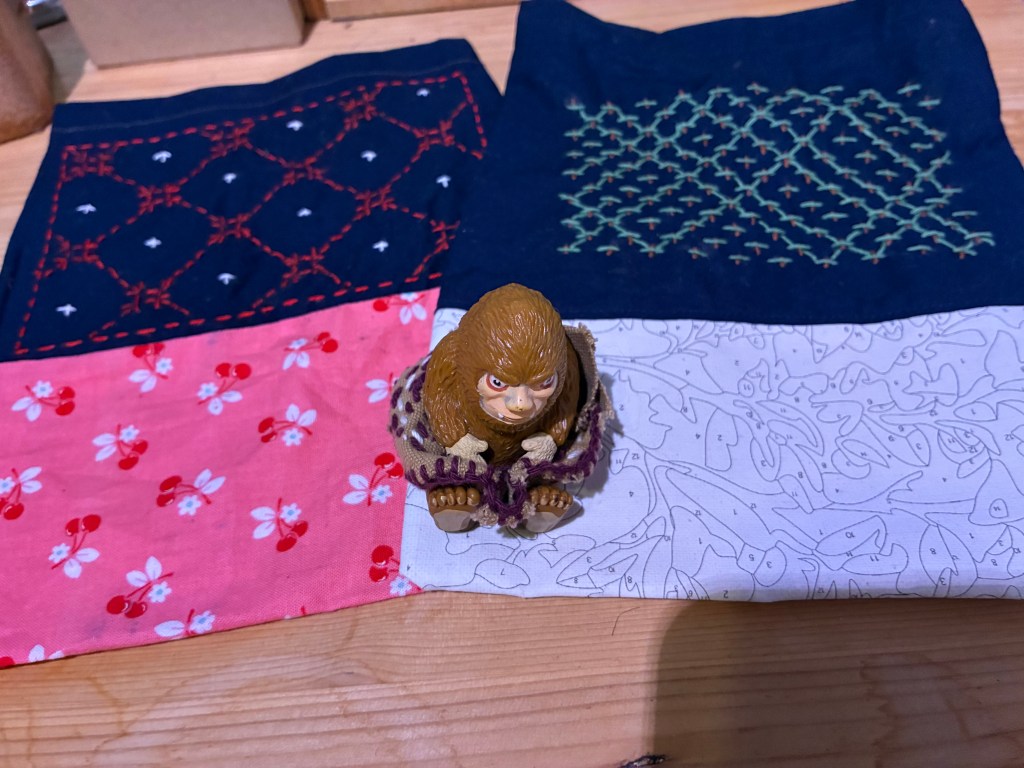
It’s Christmas crafting season! This year I am making Sashiko gift bags to hold some presents for some of my special people. They are an easy take-along project that require minimal supplies after the bags themselves are sewn. I love the chance to try out new patterns over small spaces in a form that doesn’t come out looking like a sampler.
I’m a fairly accomplished seamstress/crafter and have a collection of supplies on hand, but these bags can come together using only a few tools.
-Sewing machine or hand sewing supplies. If I were making more than a dozen I would have pulled out my serger but even without they took about 10 minutes each to make on a regular machine. You will need needles regardless. I tried some “official” needles and found them no different than a basic embroidery needle. Some may be longer but because of the nature of this project I wasn’t doing a lot of long running stitches.
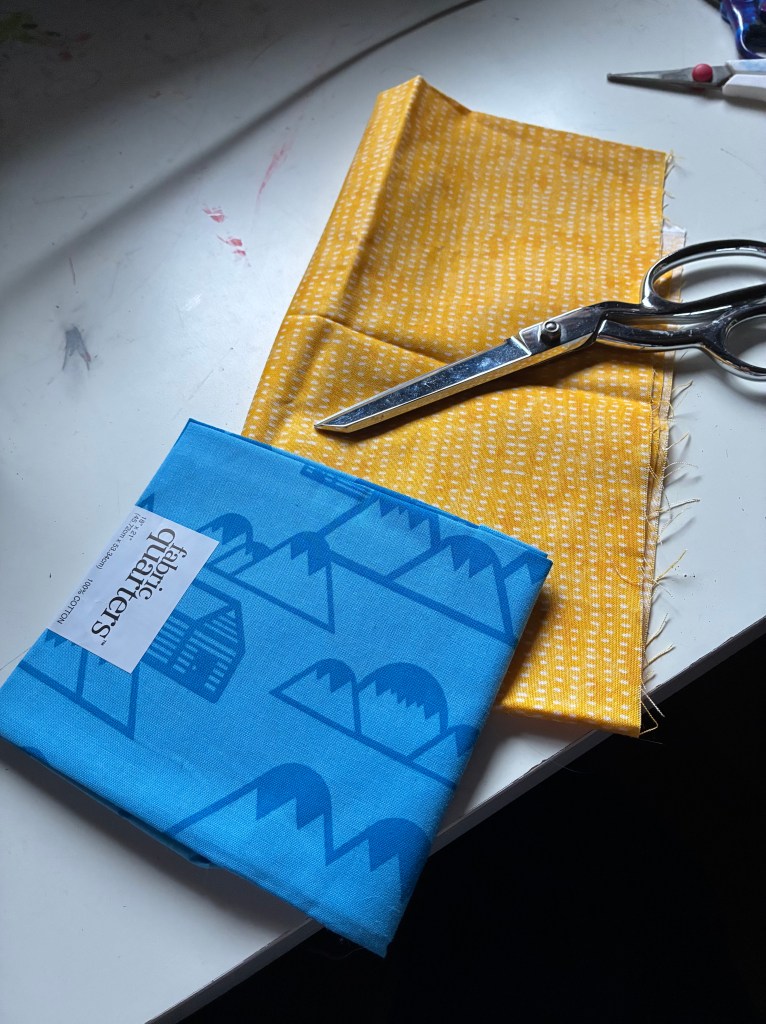
-Good sewing scissors or a rotary cutter. I fussy cut by eye and cleaned up the seams when I was done.
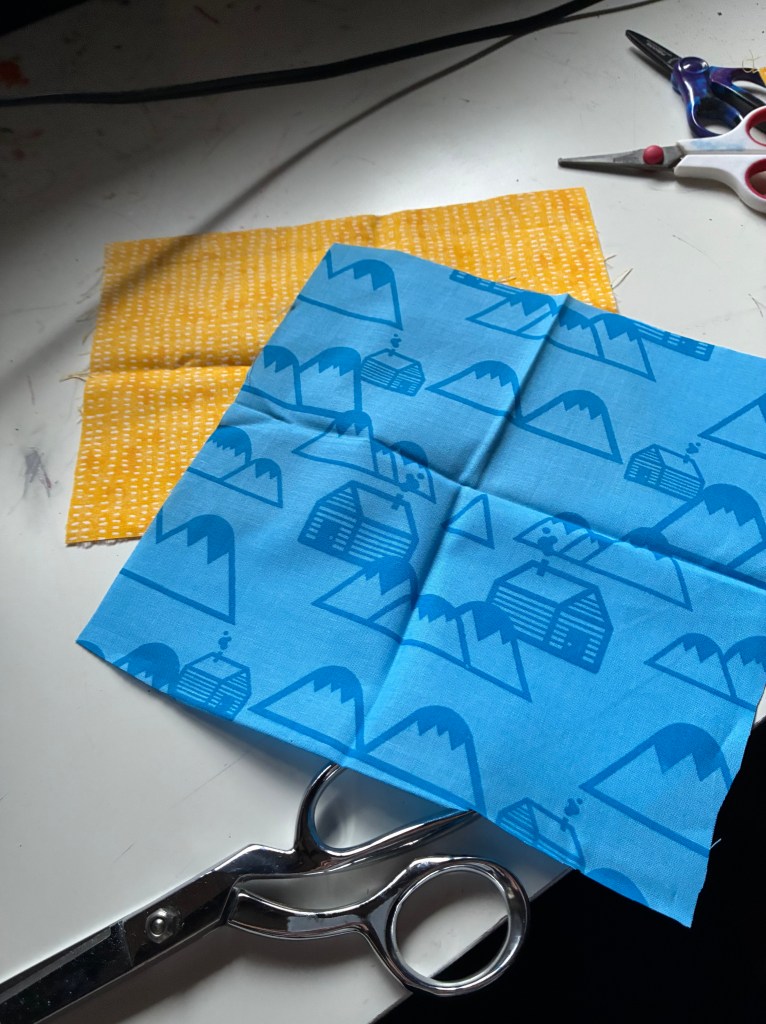
-Material. Traditional sashiko is done on dark blue fabric and nice fabric shops will often have a sashiko section with “official supplies” but any fabric will do. I used contrasting blue and scraps from my quilt stash, wool bag, and a half finished paint by number canvas that looked neat. For my demo bag I chose some lighter fabric so that you can see the contrasting thread.
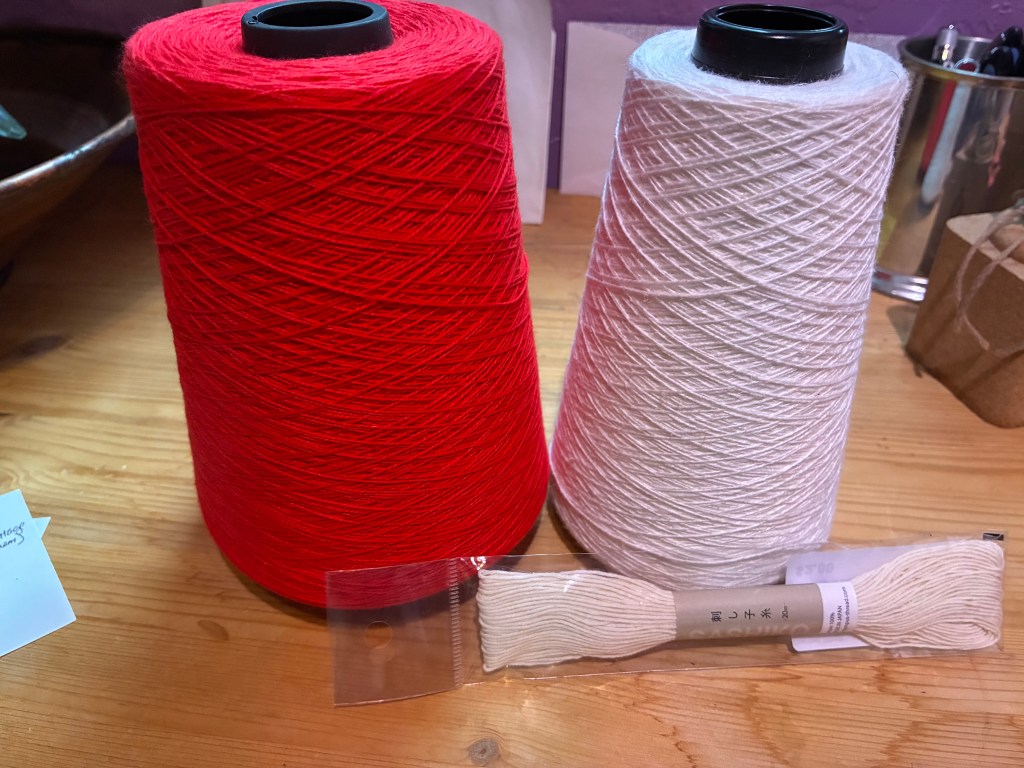
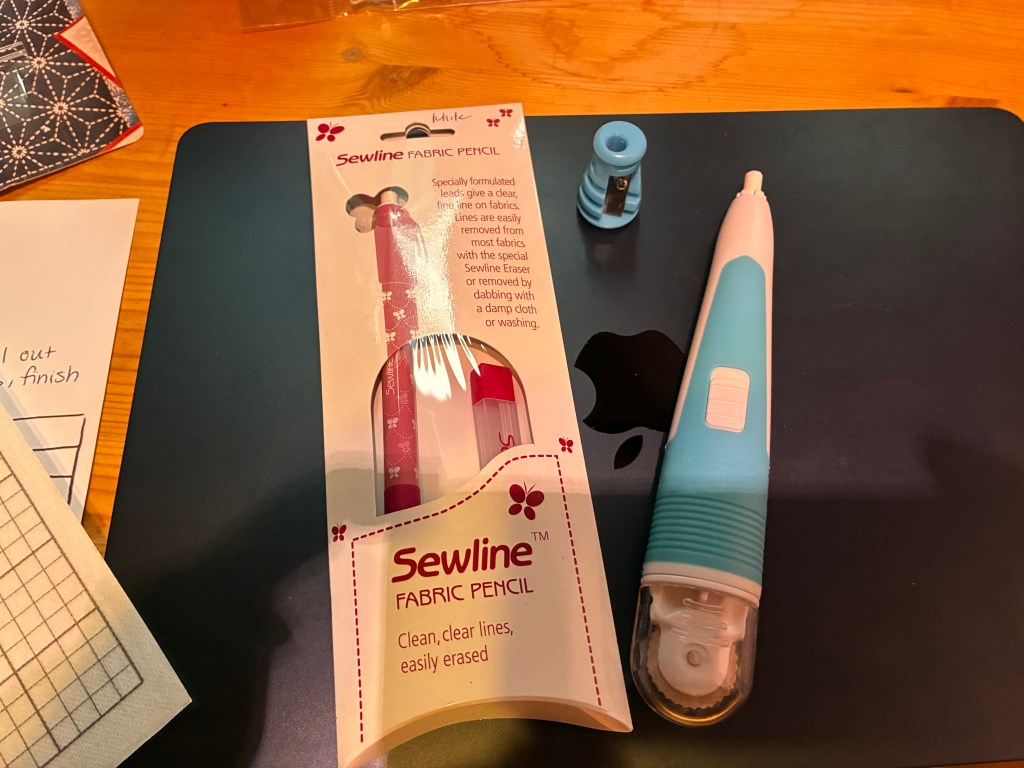
-Thread. There is a thick cotton Sashiko brand thread which sews up quite well. I have also used embroidery floss and more recently rolls of fiber meant to warp looms. Cotton has a lot of stretch in it and washes well, but I don’t see why you couldn’t use wool or other natural fibers.
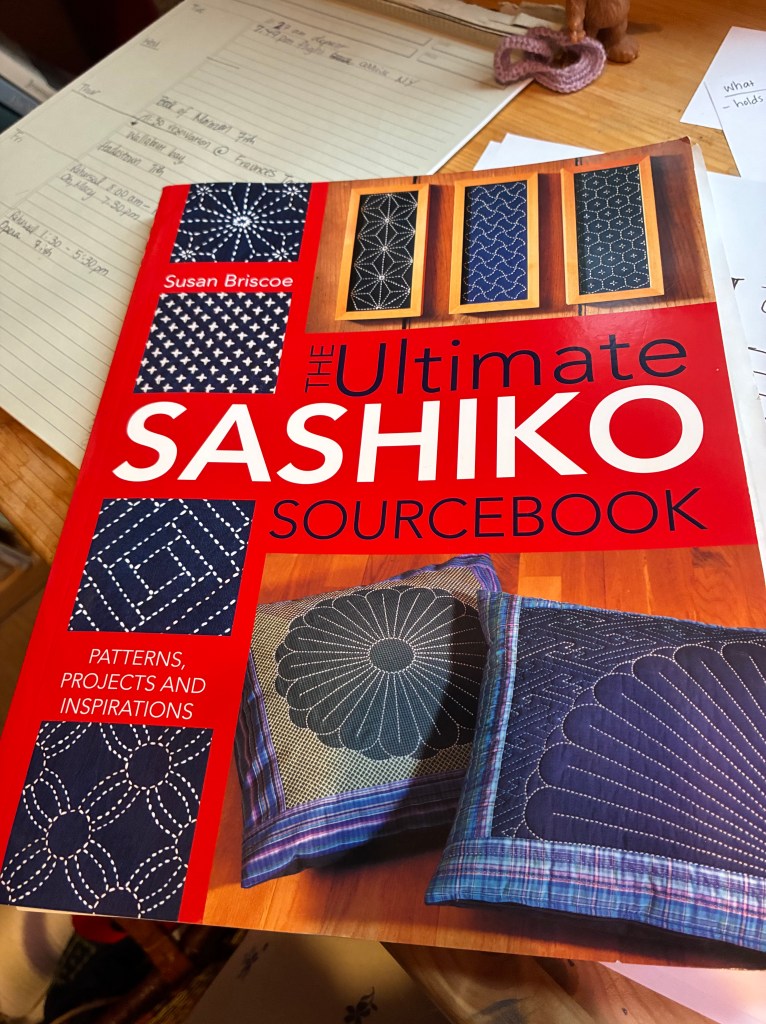
-Patterns. I picked up The Ultimate Sashiko Sourcebook, by Susan Briscoe, which I love but there are plenty of other books available as well as pattern cards, internet resources, and the like.
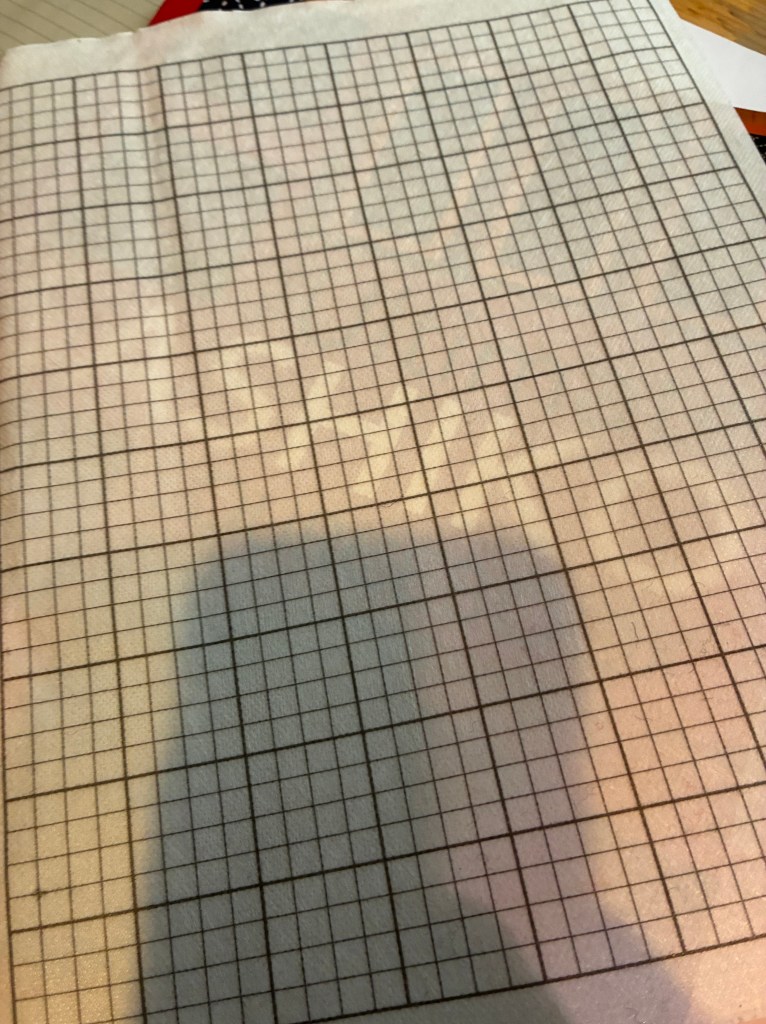
-Some way to transfer the pattern onto the fabric. I bought a stencil and chalk pencils for a recent project and didn’t love the way the chalk rubs off. I tried several different brands and they all work fine but not great. Since these bags are a traveling project I went with a water soluble pattern paper that will run through the printer. I printed a basic graph paper layout then sketched the pattern directly onto the paper and stuck it to the bag.
The only problem with the water soluble paper is that it makes your needle sticky, so keep something handy nearby to wipe it off. I am throwing some alcohol wipes in my project bag.
And those are the supplies!
*Note here: I am not a perfectionist. I tend to make things up as I go along and tweak as needed. At any point in my process feel free to finish edges, put in French Seams, top stitch, etc.
Construction!
Step 1: Make the Bag.
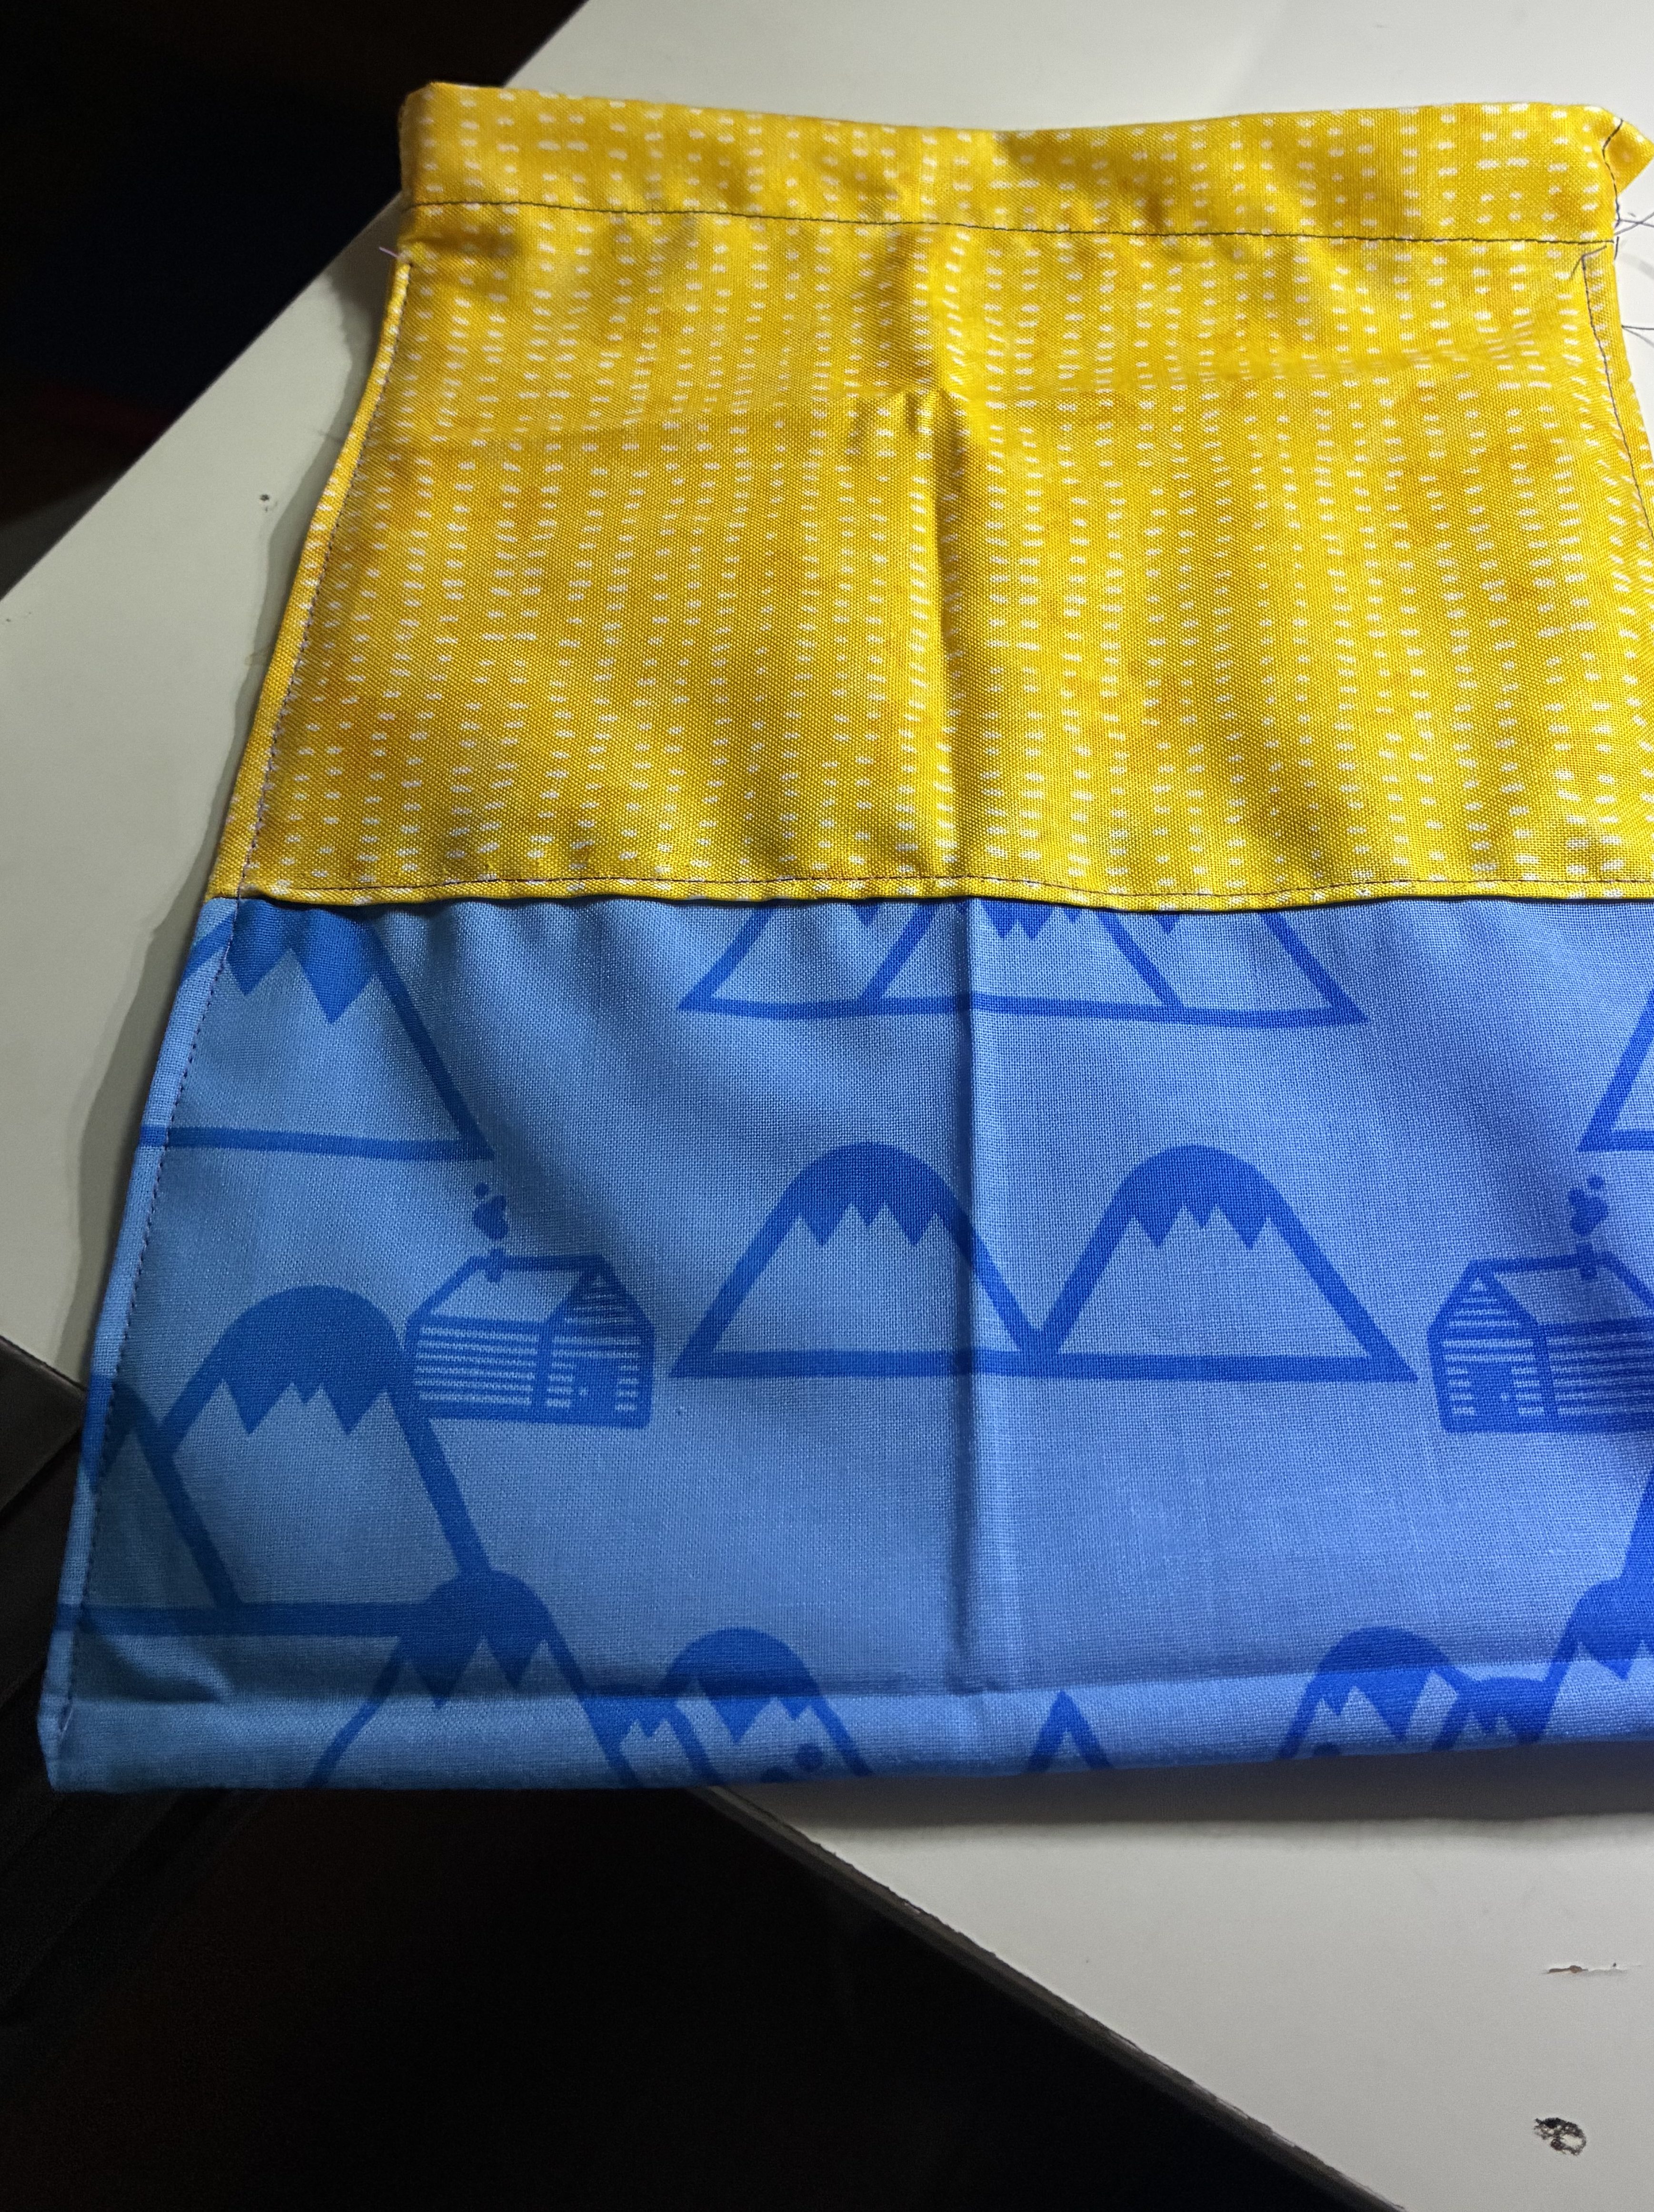
Cut two pieces of fabric for the top of the bag and a third that will become the bottom. Measure or not. Remember you will have seam allowances.
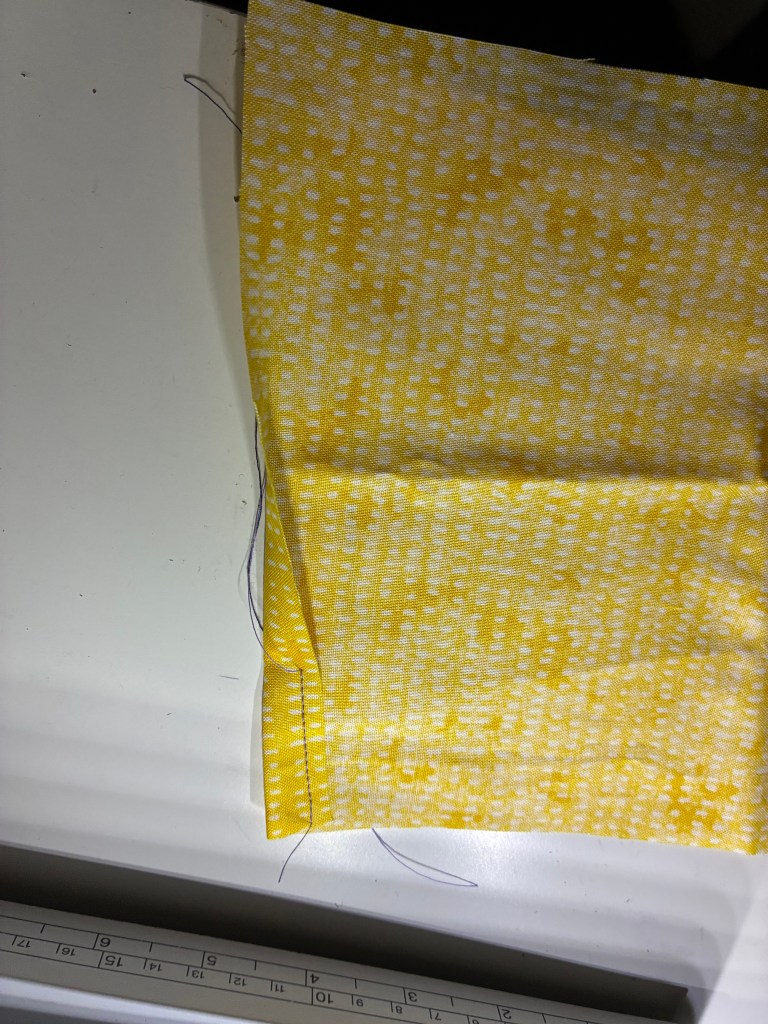
I wanted a drawstring option so I suggest turning down the side edges, sewing down an inch or two, then turn down the top and sew in a wide channel for the string or twine or whatnot. If you wanted a top flap with a button, or a zipper or snap, finish the top as needed.
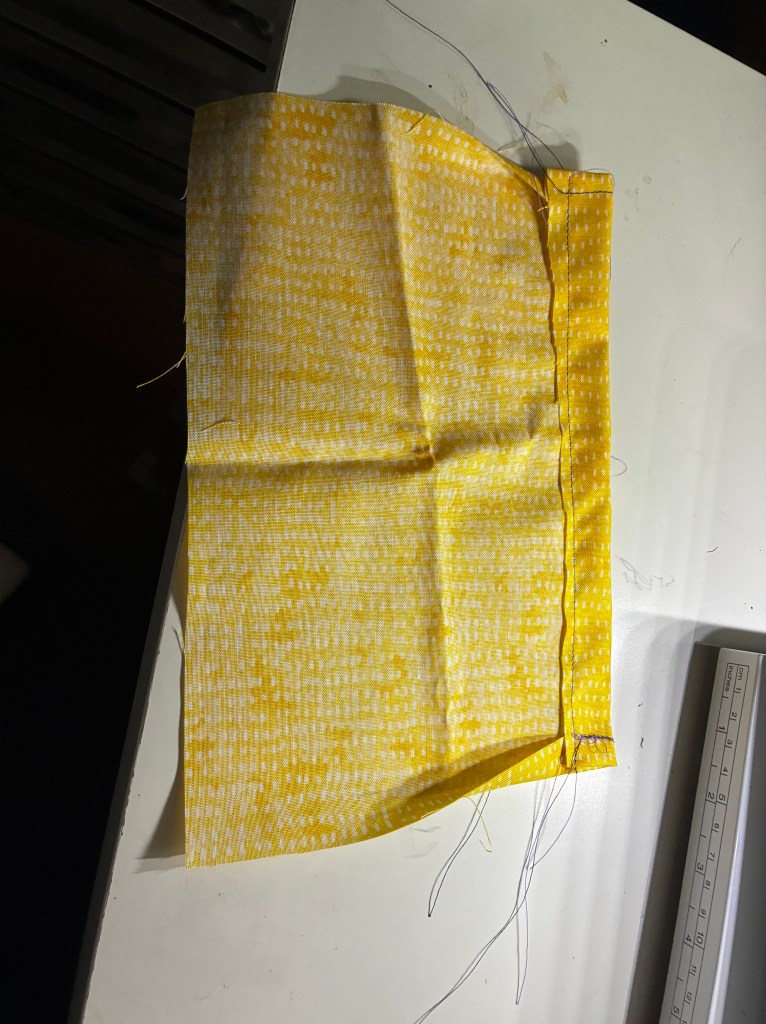
Do the same on the other top panel. With right sides together sew the bottom panel to one of the raw edges of the top panel. I run a quick top stitch to secure the seam. Repeat on the other side.
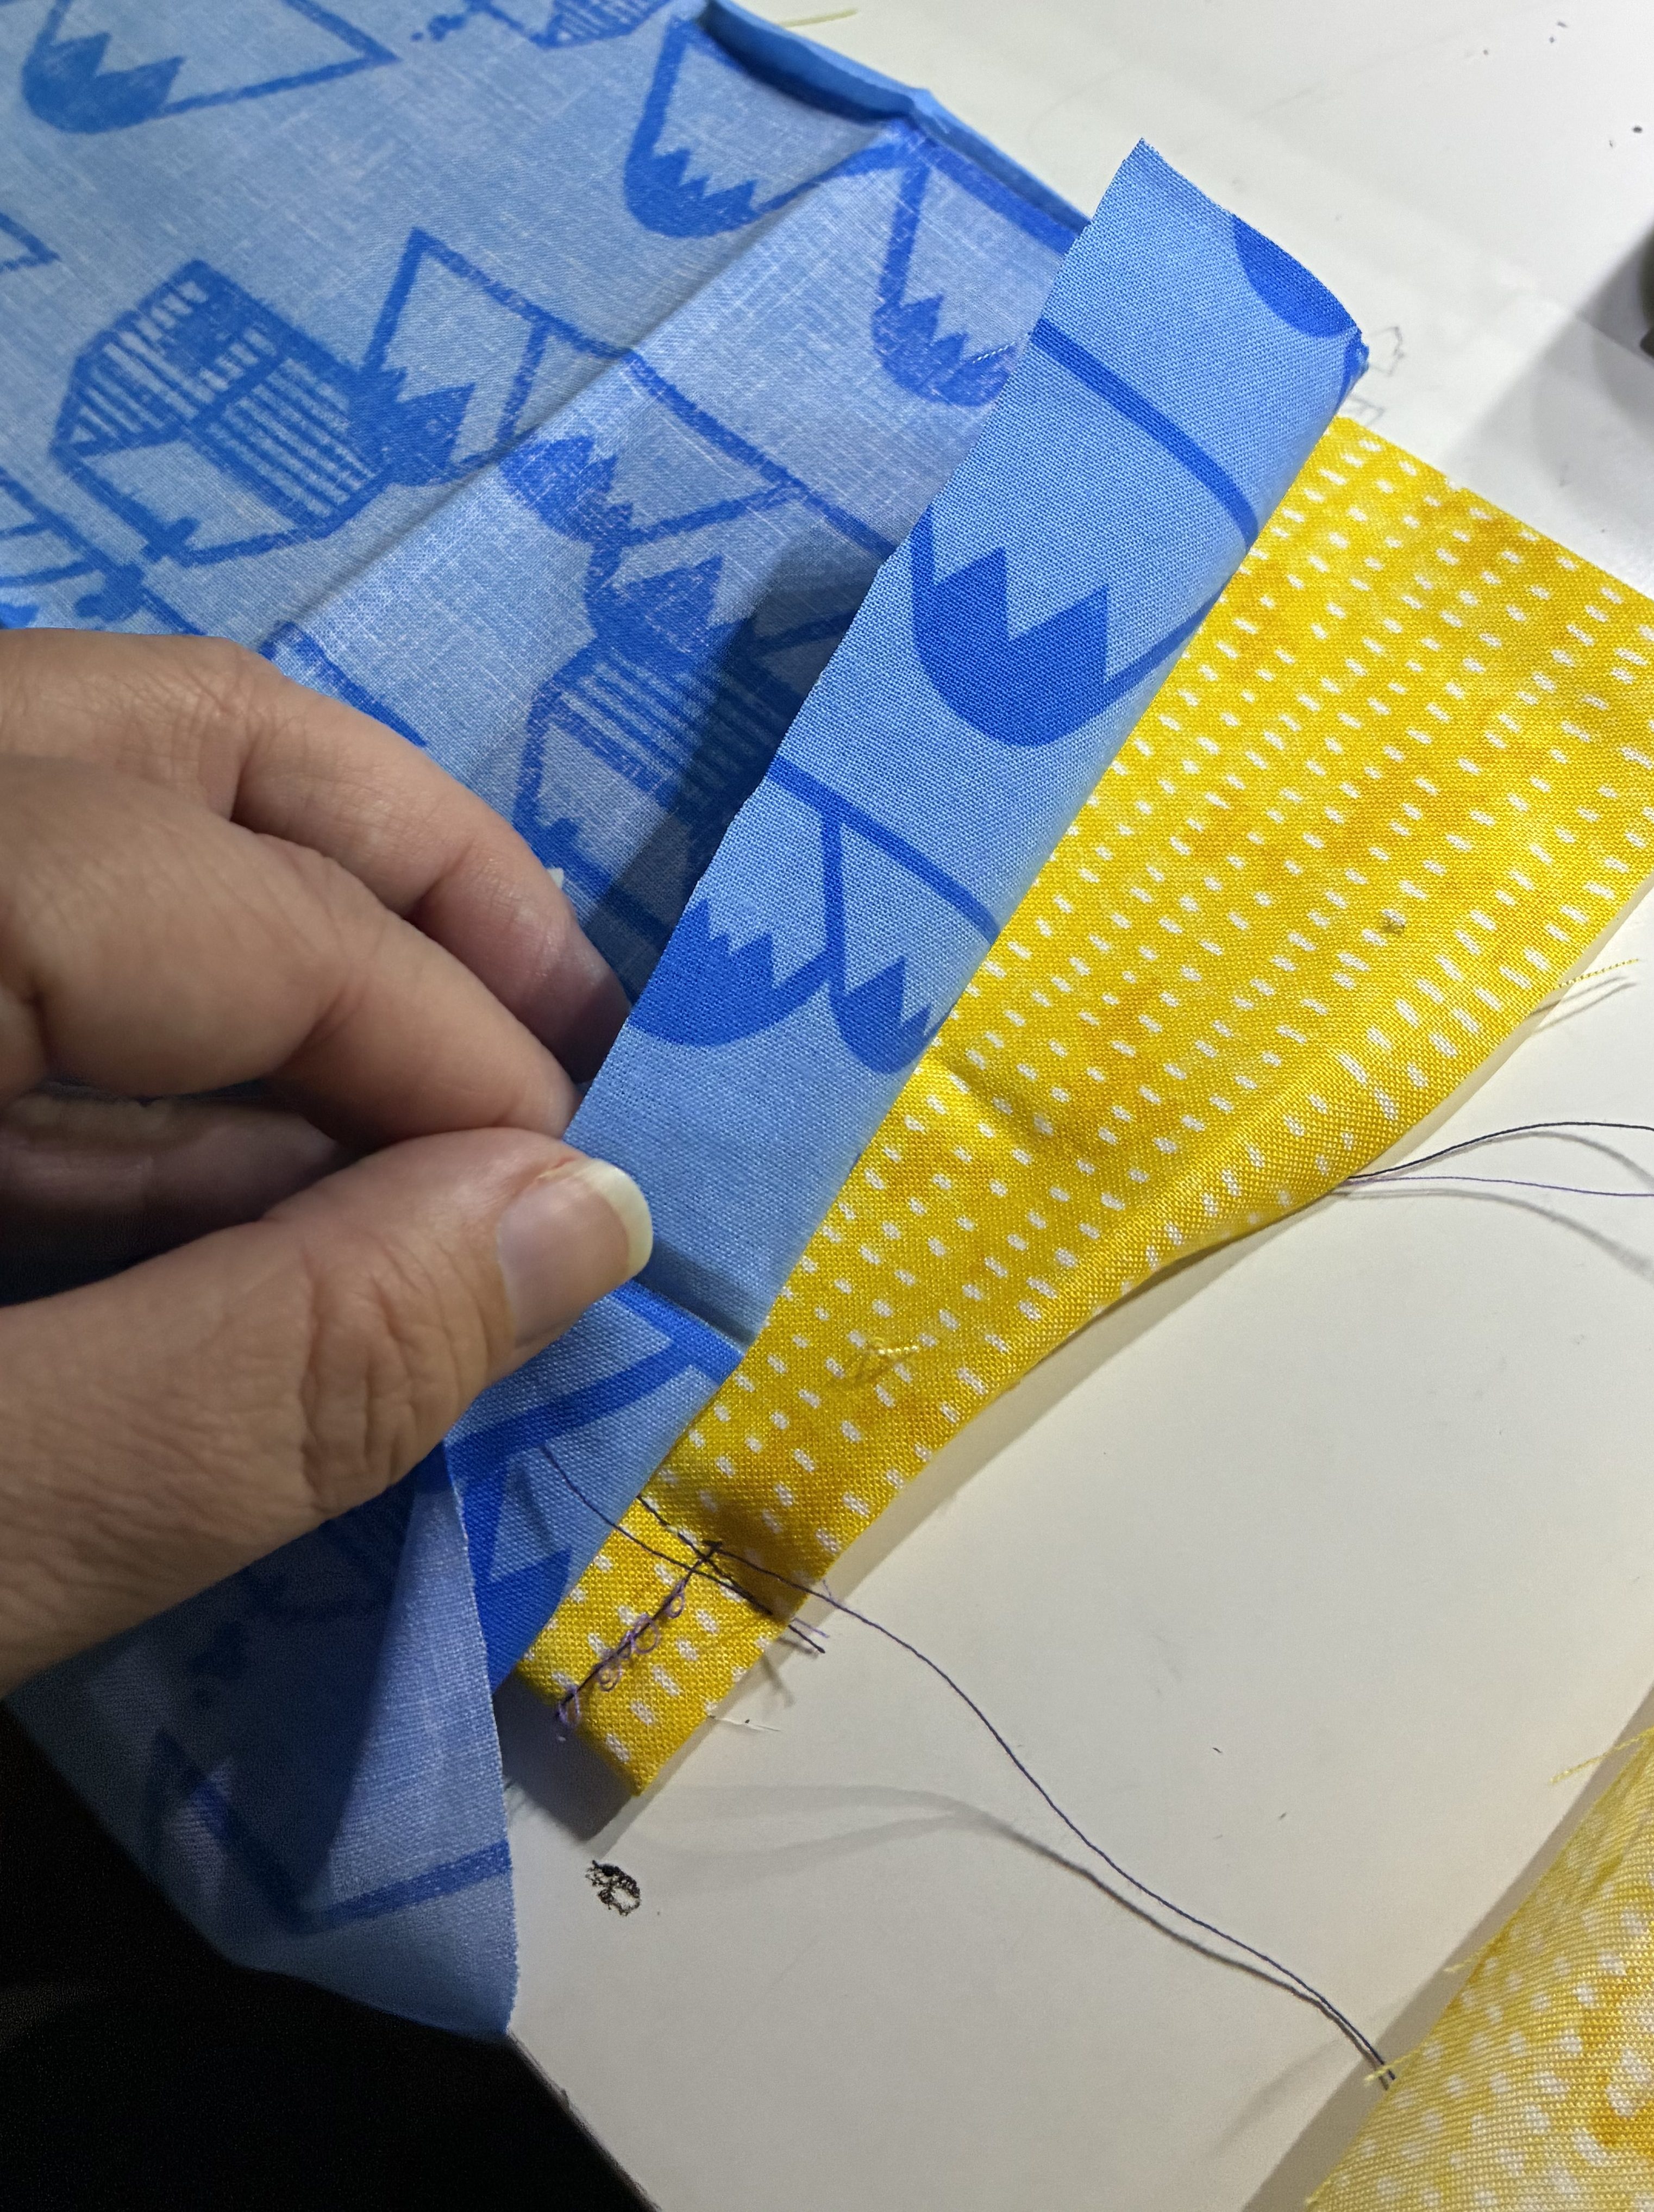
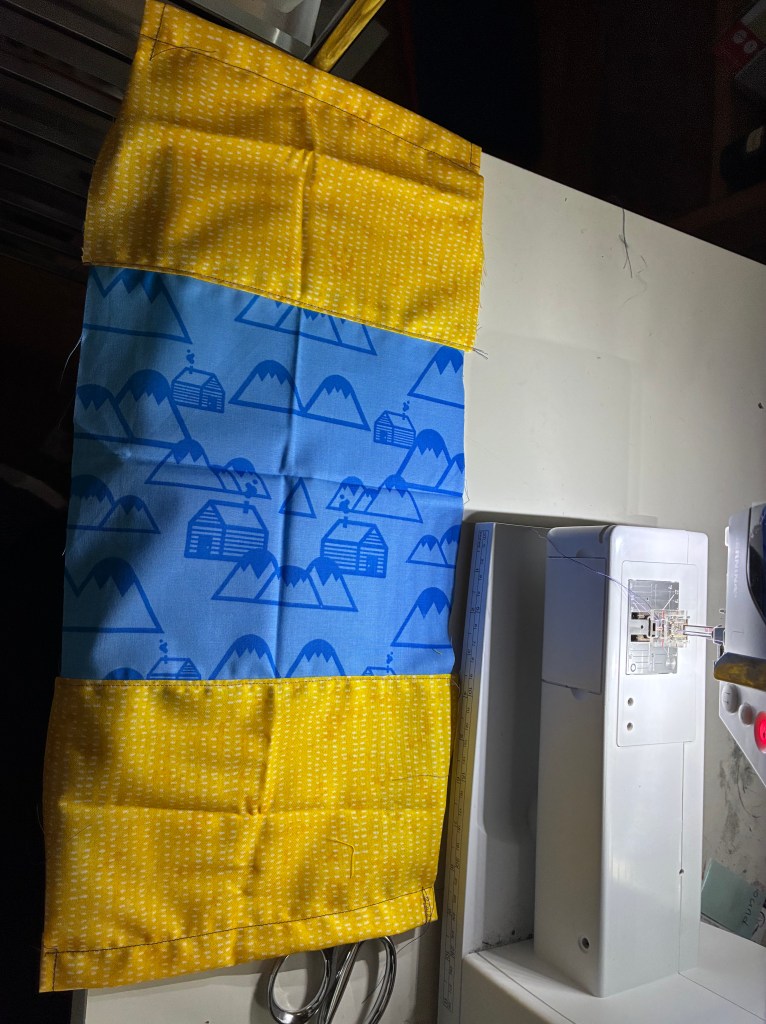
You should now have one long piece of fabric. Fold over right sides together and sew up each side. Trim the edges.
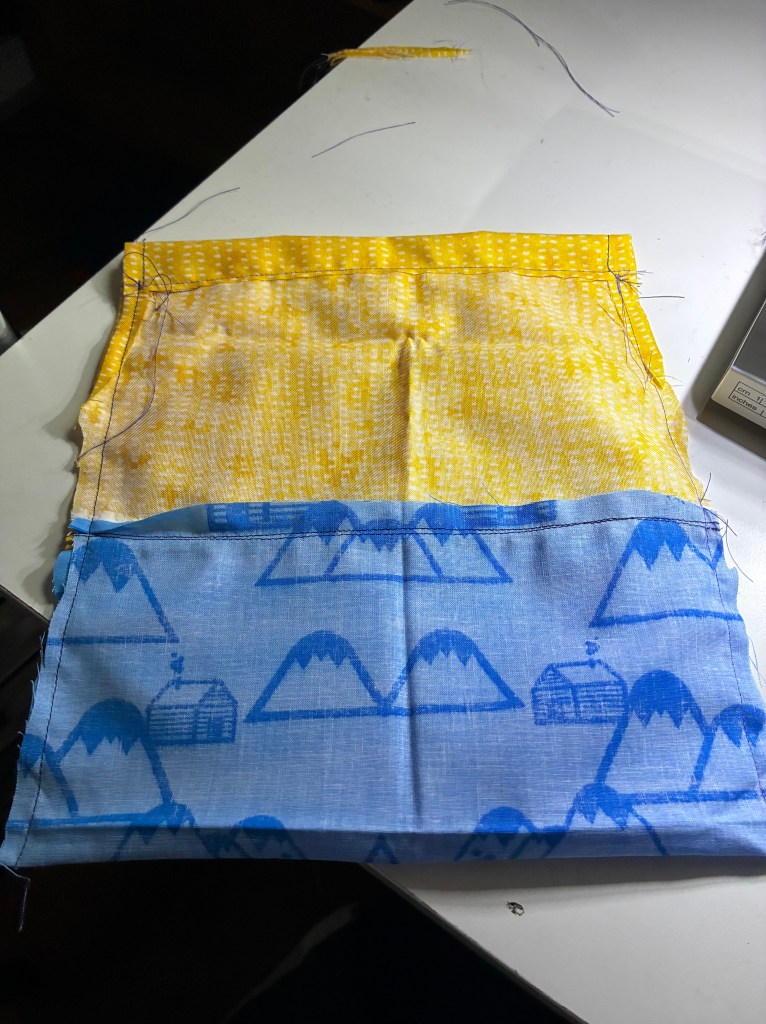
Top stitch the sides if you like. I am not going to sashiko this demo bag, but since it will probably be gift wrap for a book, I added the extra seam for strength.
Step 2: Apply the pattern. Using chalk or washable pattern paper decide what pattern you would like and apply to the bag.
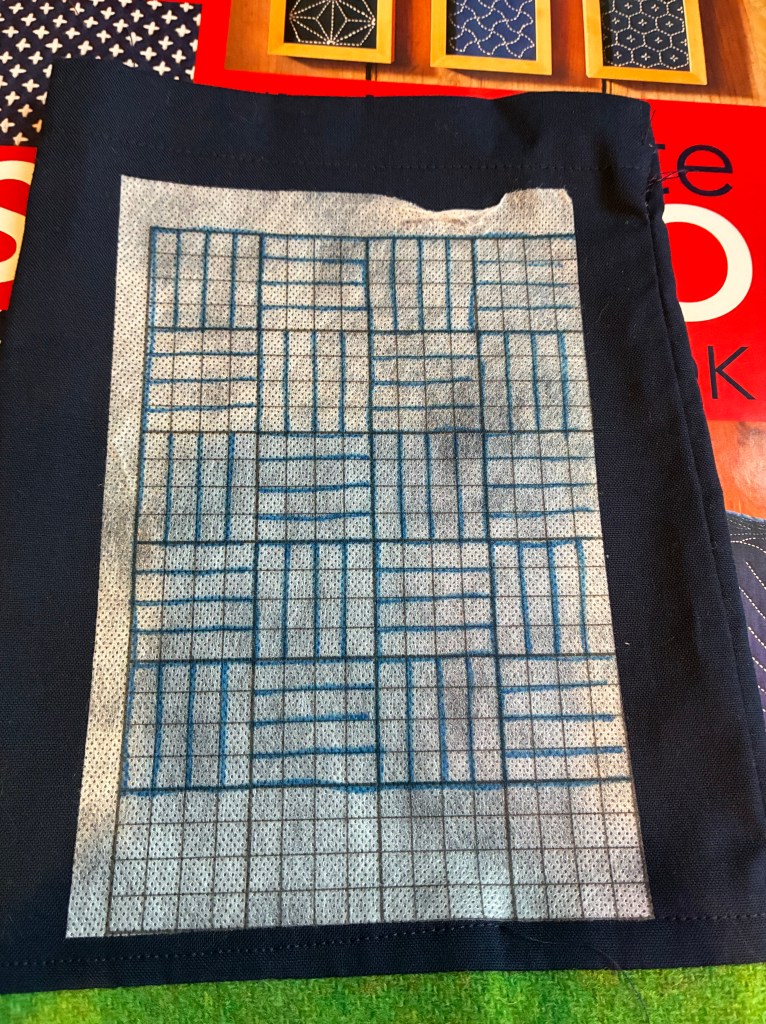
Step 3: Sew! Following the guidelines on your pattern, embroider your bag. Wash off the chalk or pattern paper and allow the bag to dry.
Step 4: add any finishing touches like the drawstring or snaps.
So there you go! Happy Crafting!


Leave a comment